Napari Manual Segmentation Tutorial
This notebook demonstrates how to use Napari to manually edit a segmentation. To learn about generating an automatic segmentation and uploading segmentations to the cloud, refer to the segmentation pipeline demo.
Ensure Napari is in 2D-slice viewing
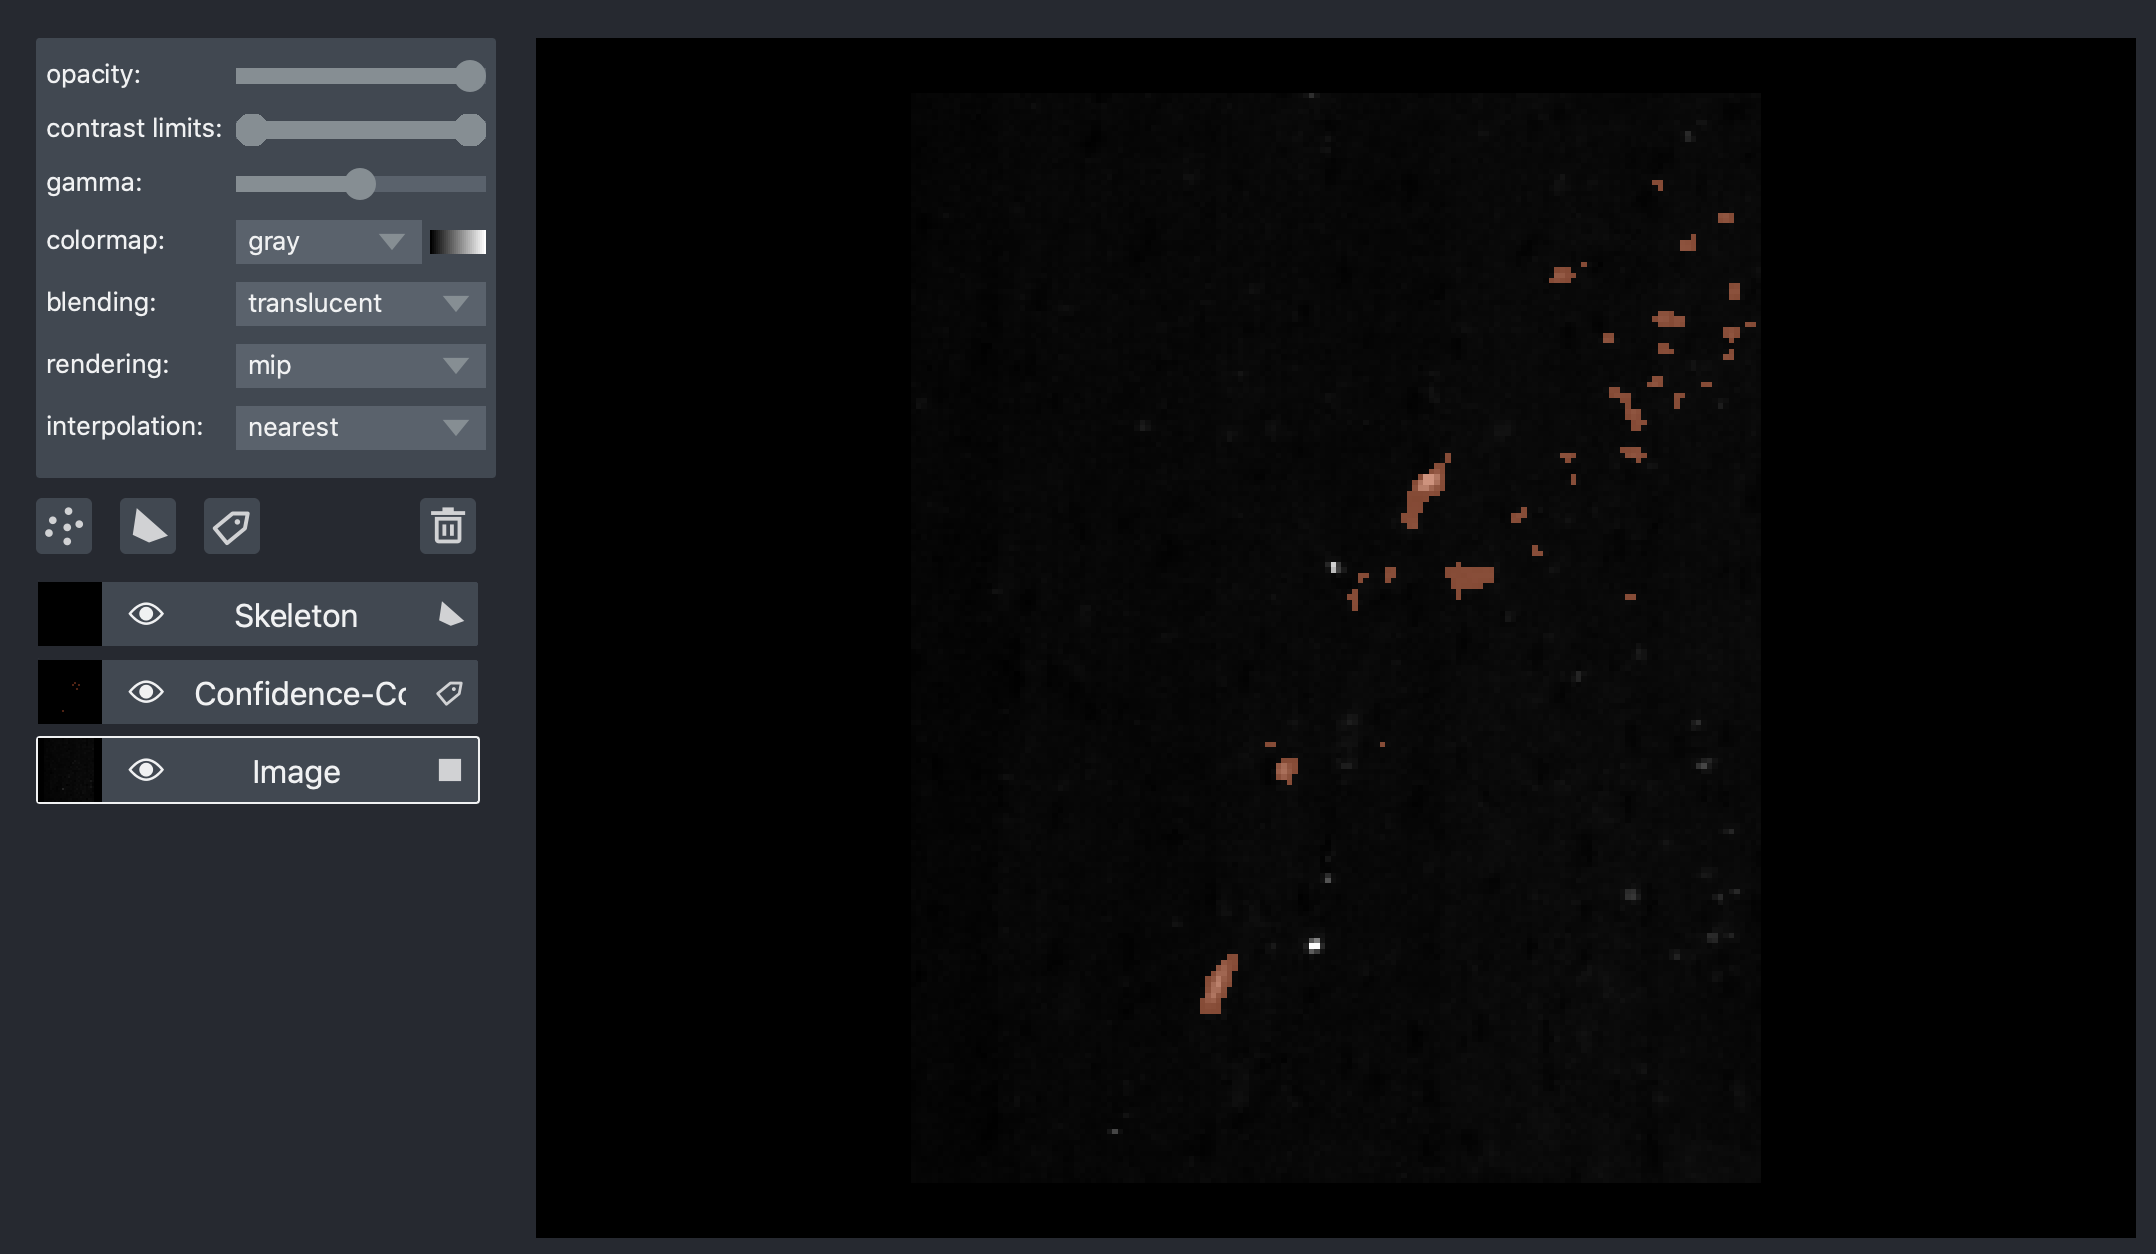
1. Ensure Napari is in 2D-slice viewing, not 3D view (The second button from the bottom left).

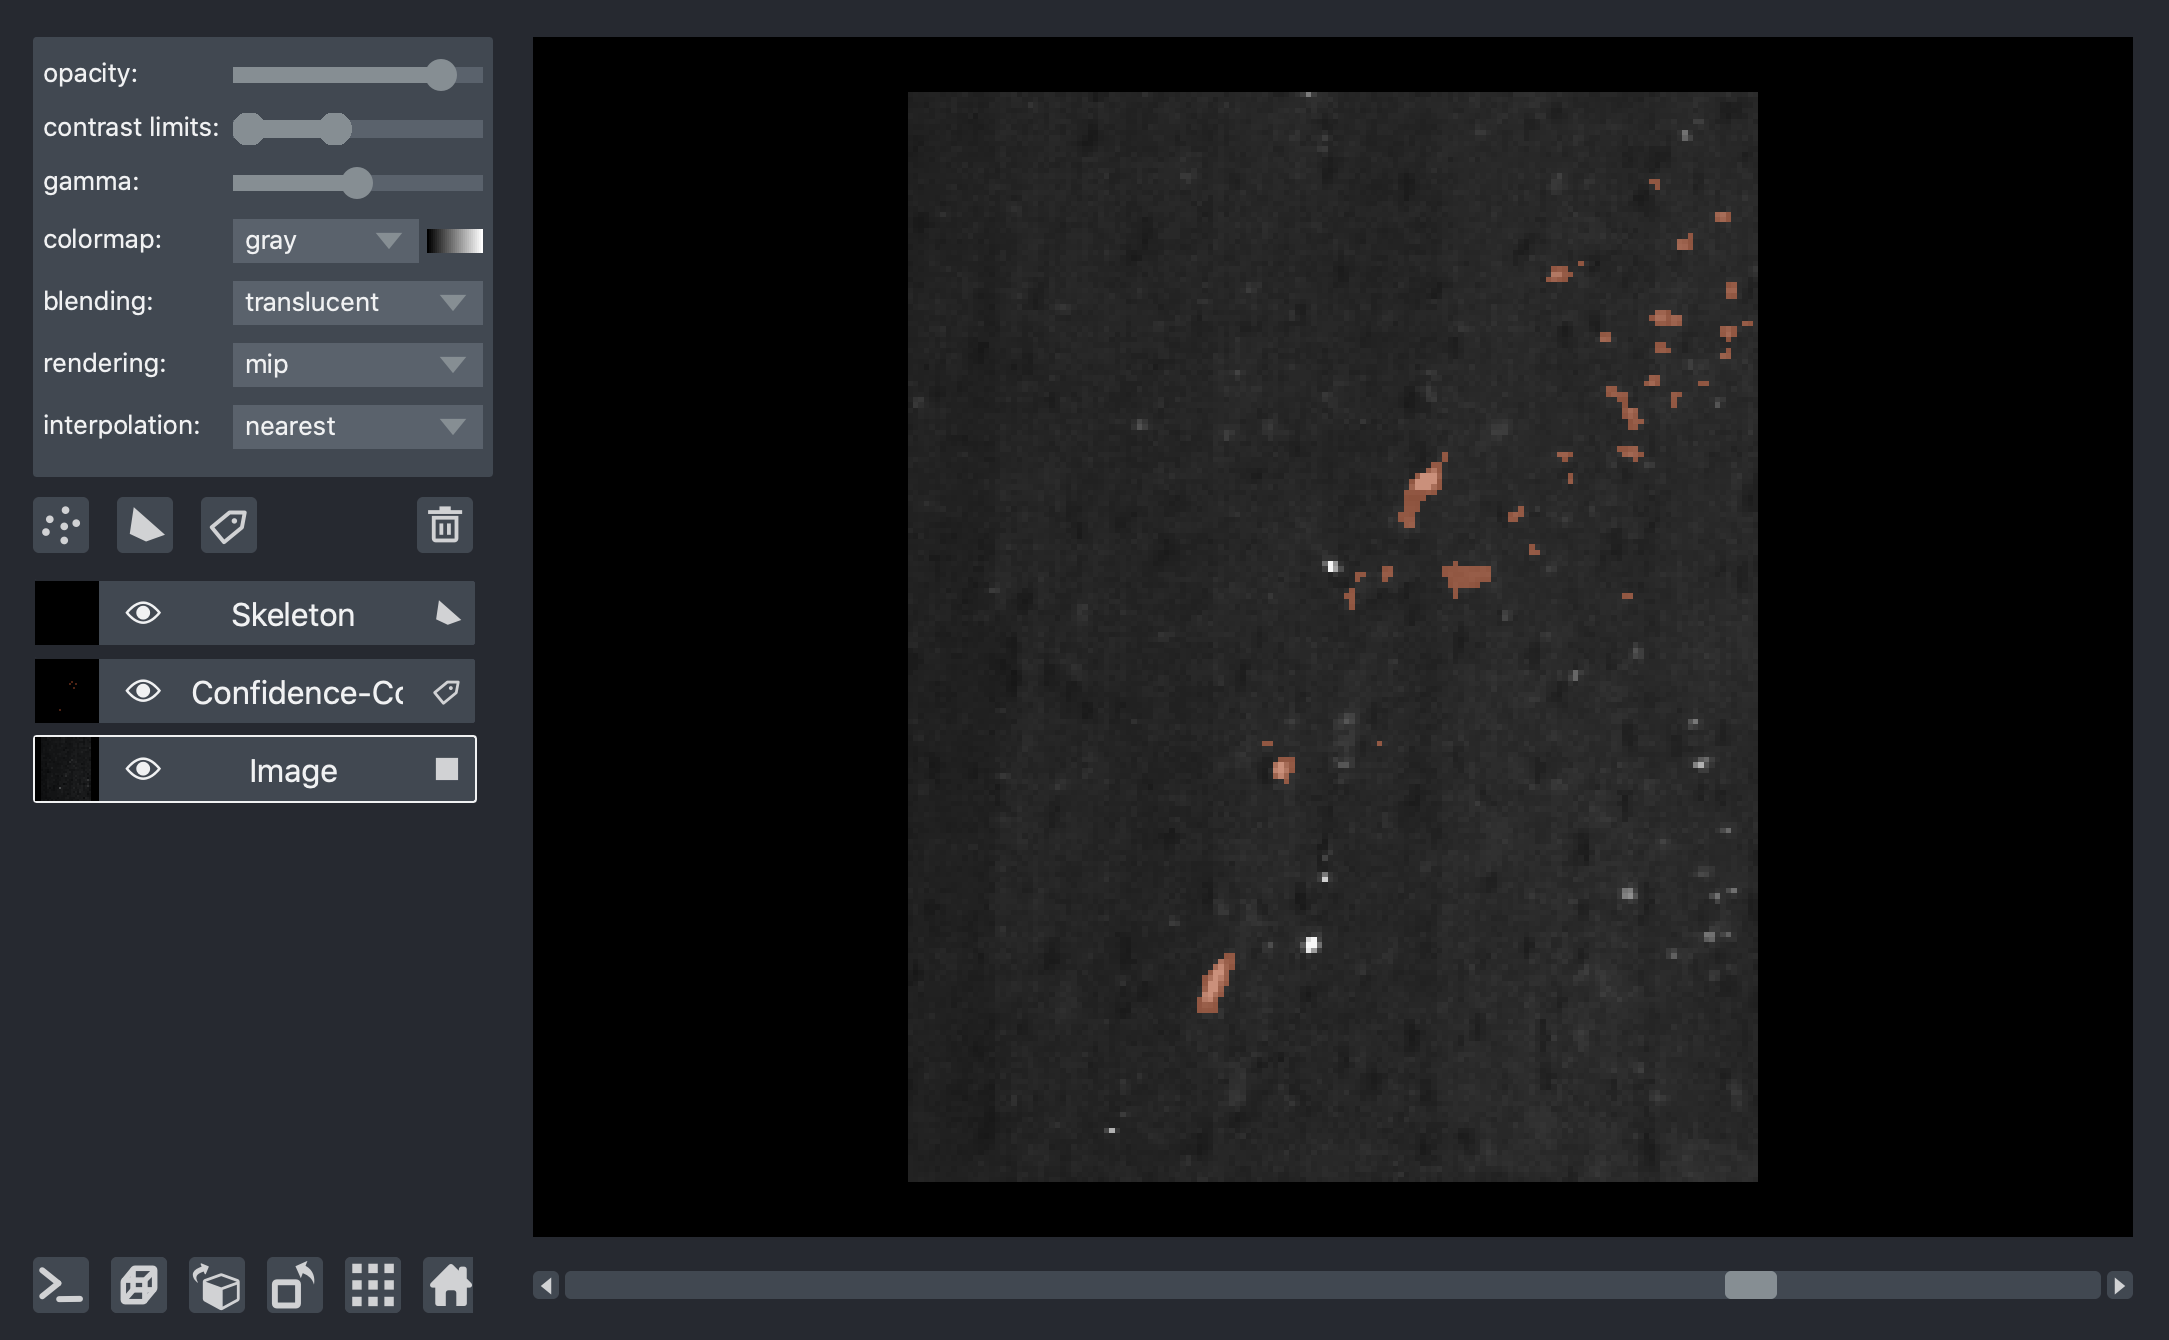
2. Click the image layer and adjust the opacity, contrast limits, and gamma as desired.
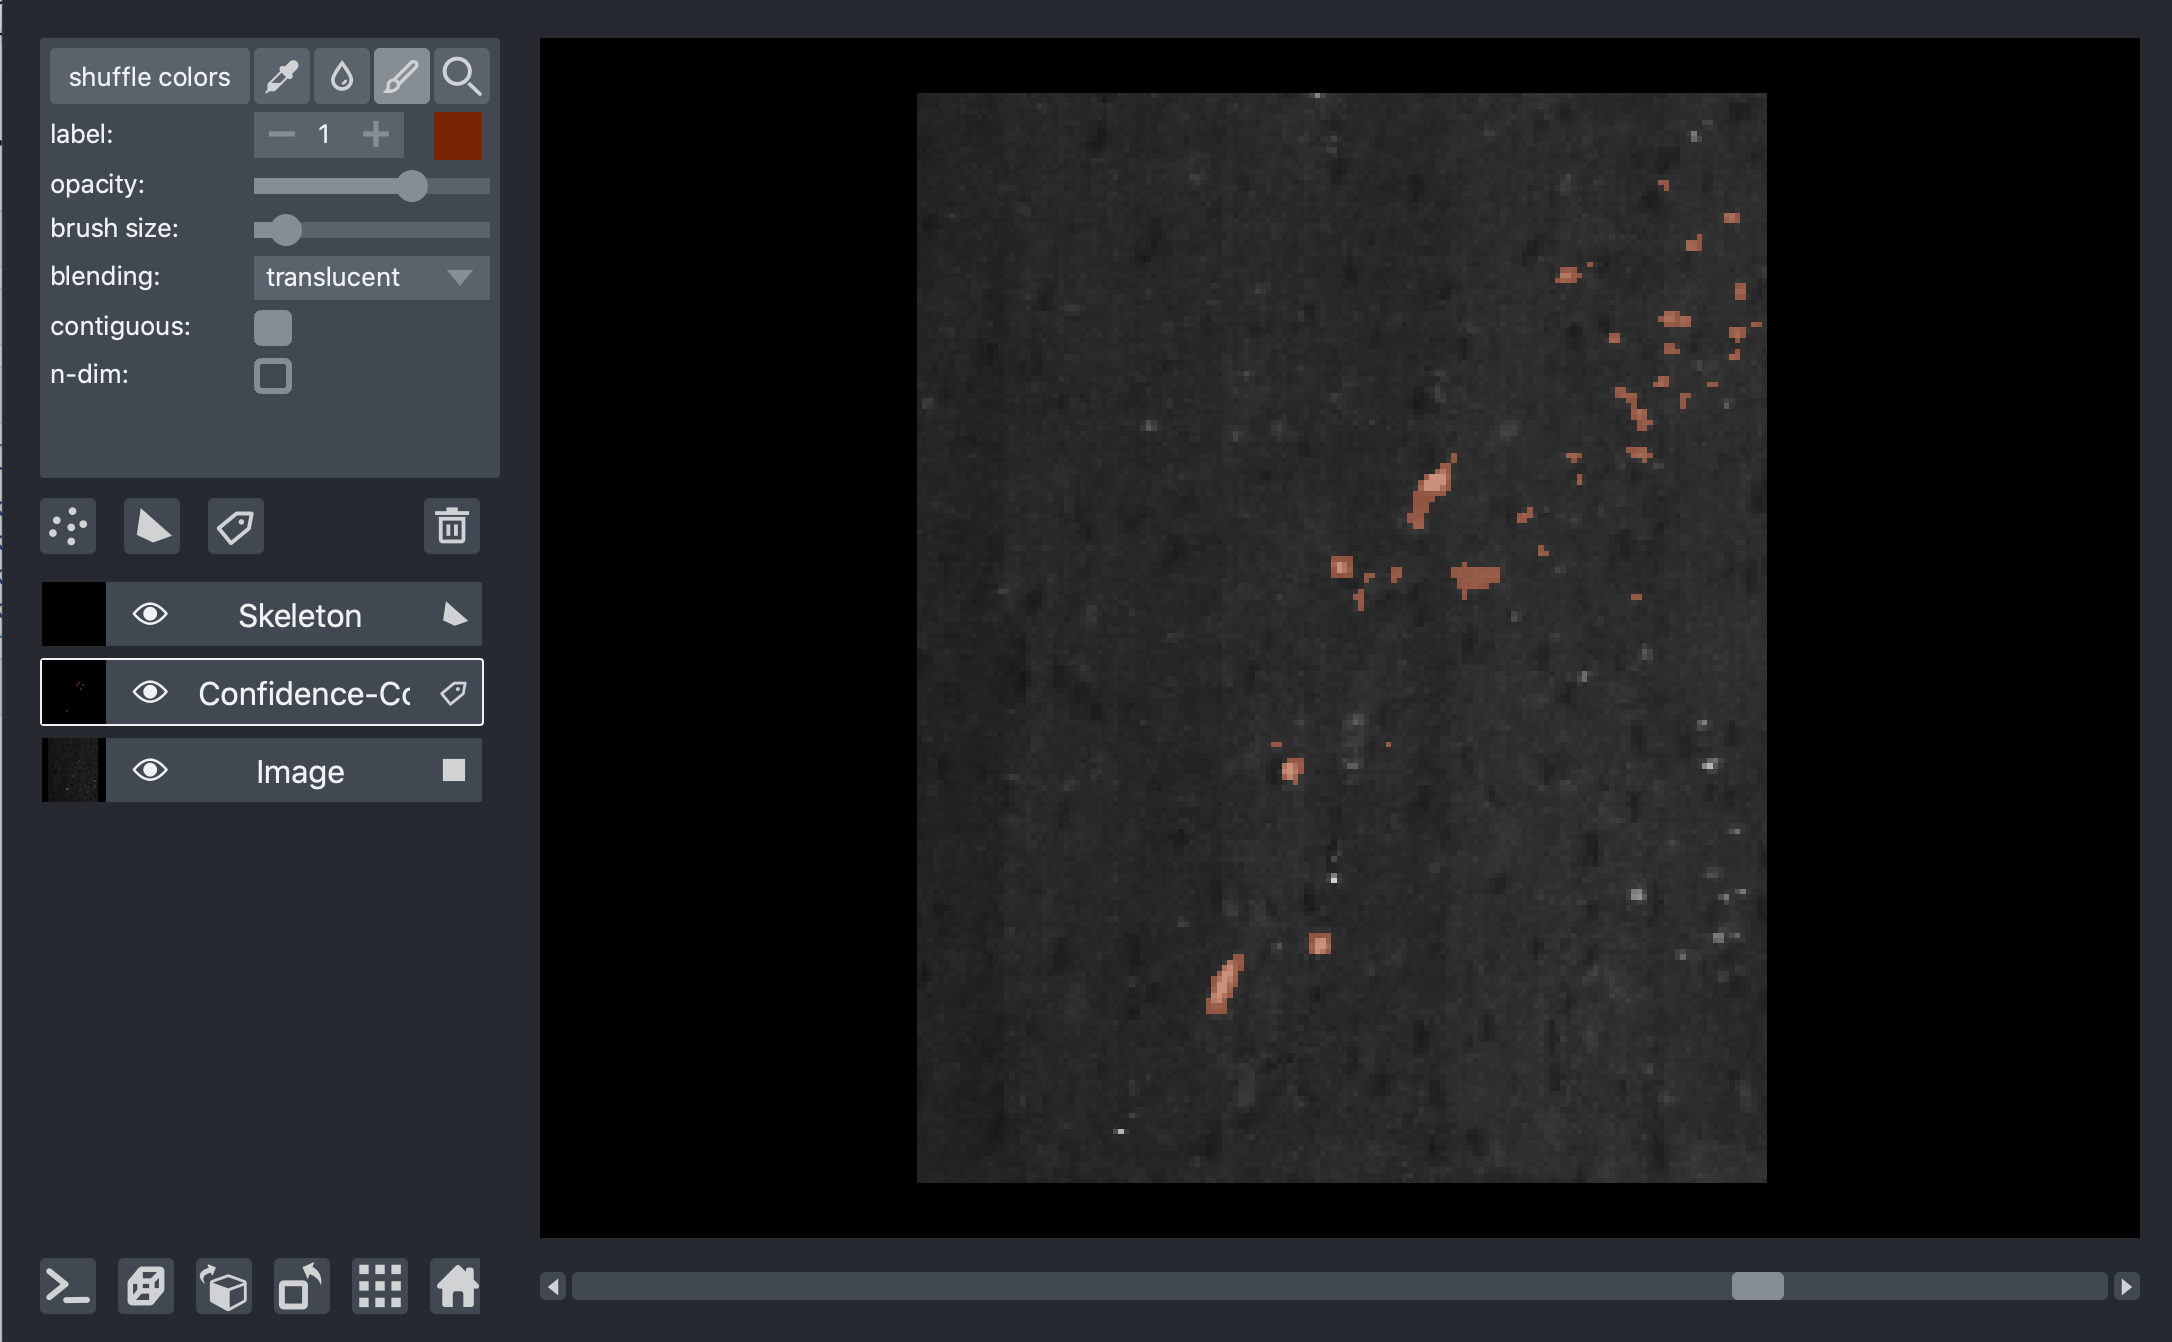
3. Click on the layer for your existing automatic segmentation mask.
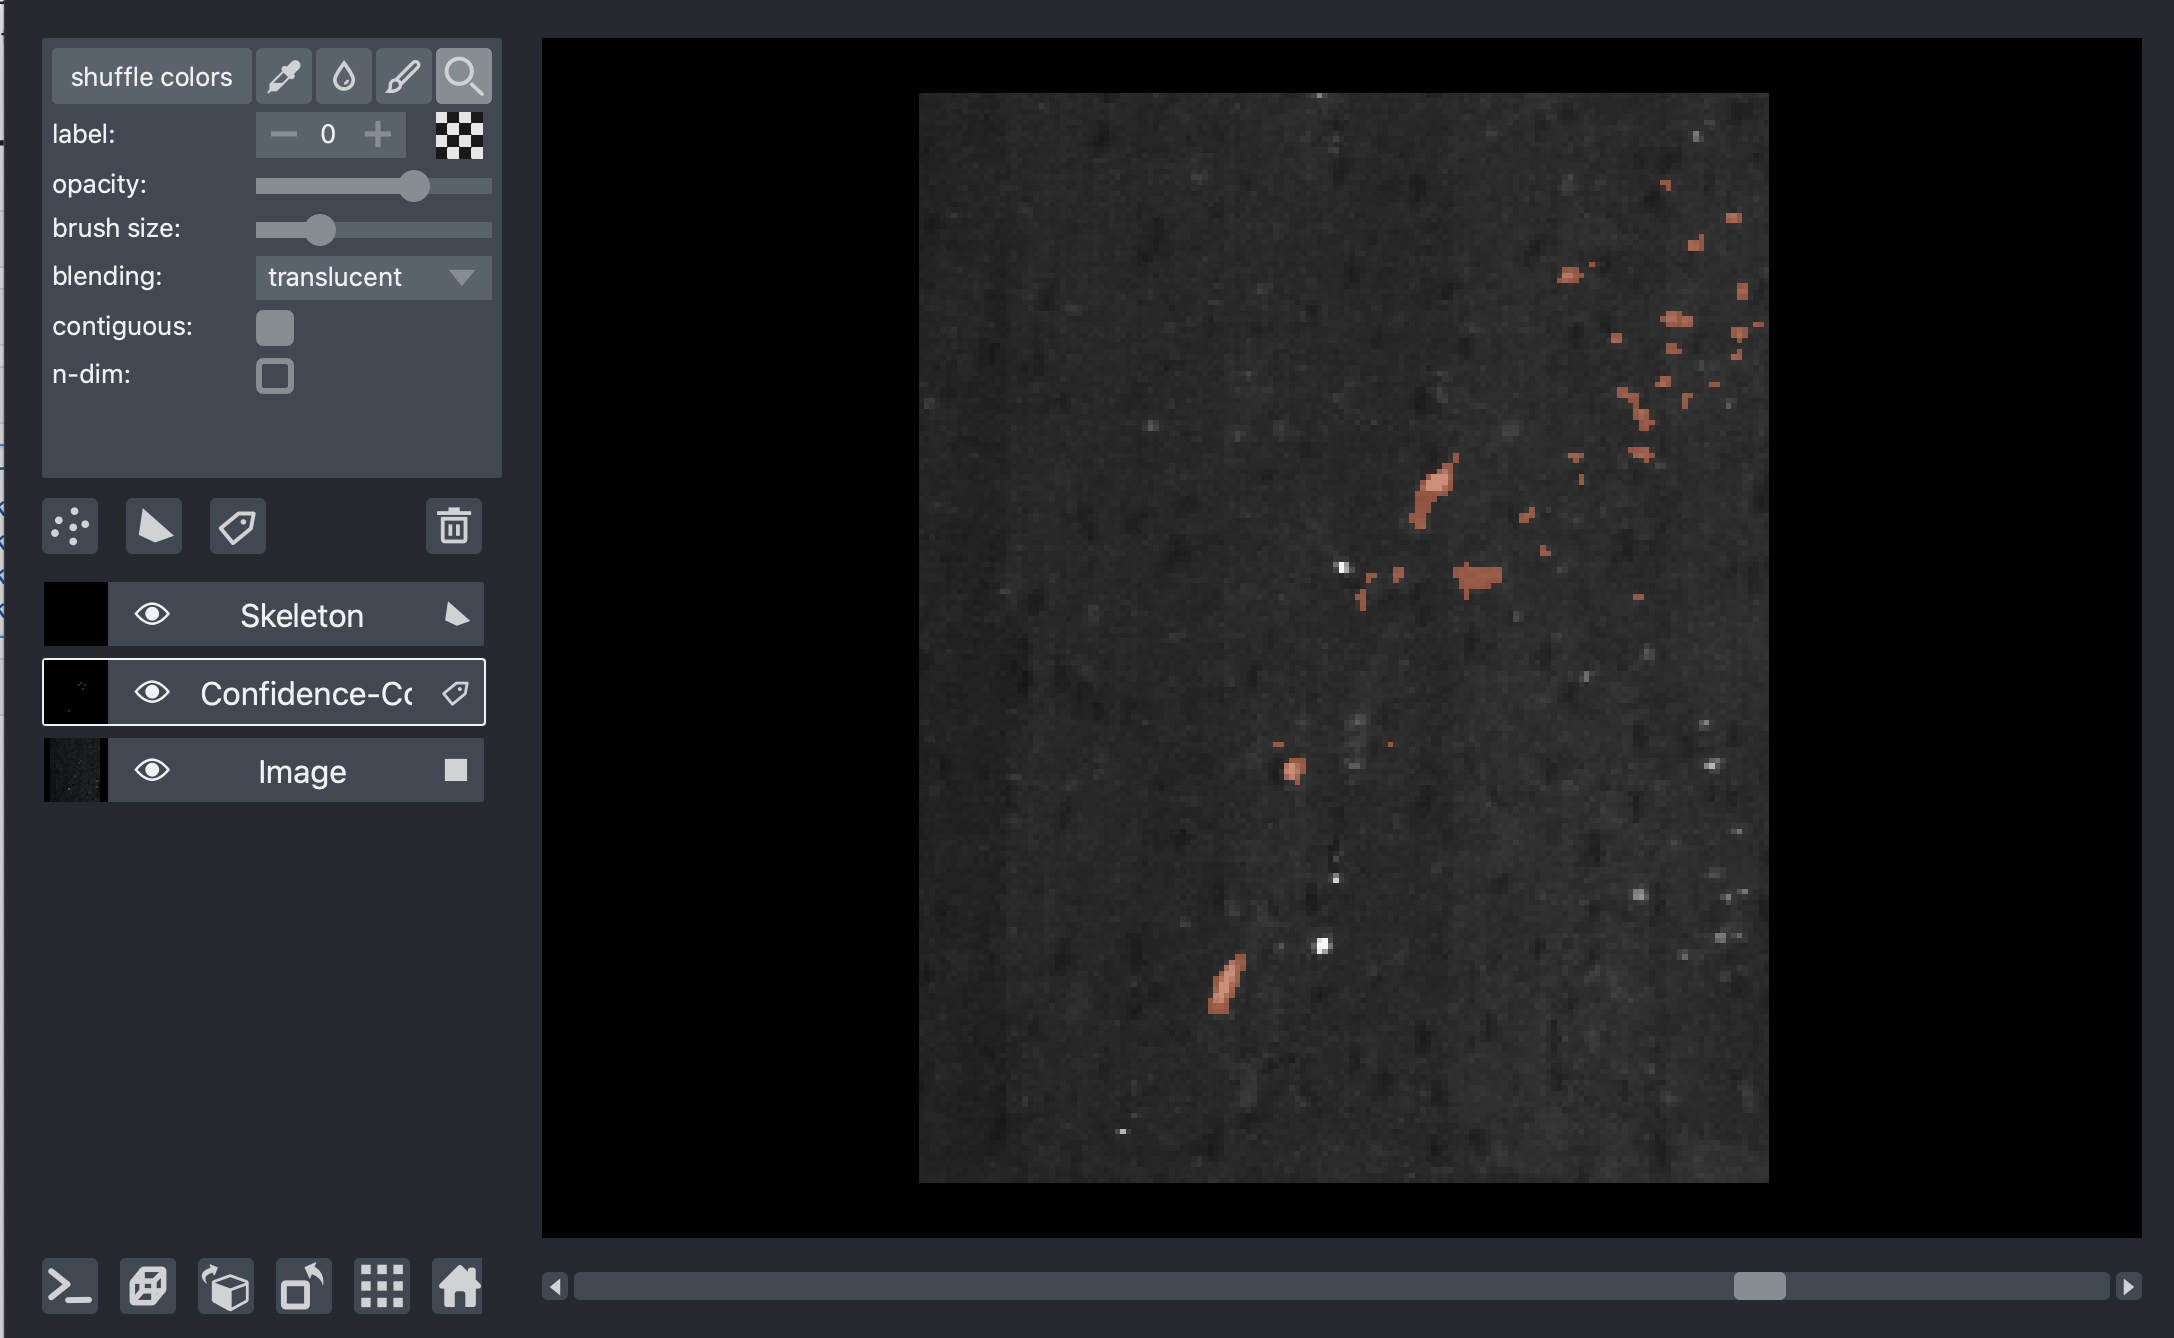
Alternatively, create a new layer for the segmentation mask.

4. Click the paintbrush tool and adjust the brush size. Ensure that “label” is set to 1 to paint and 0 to erase.
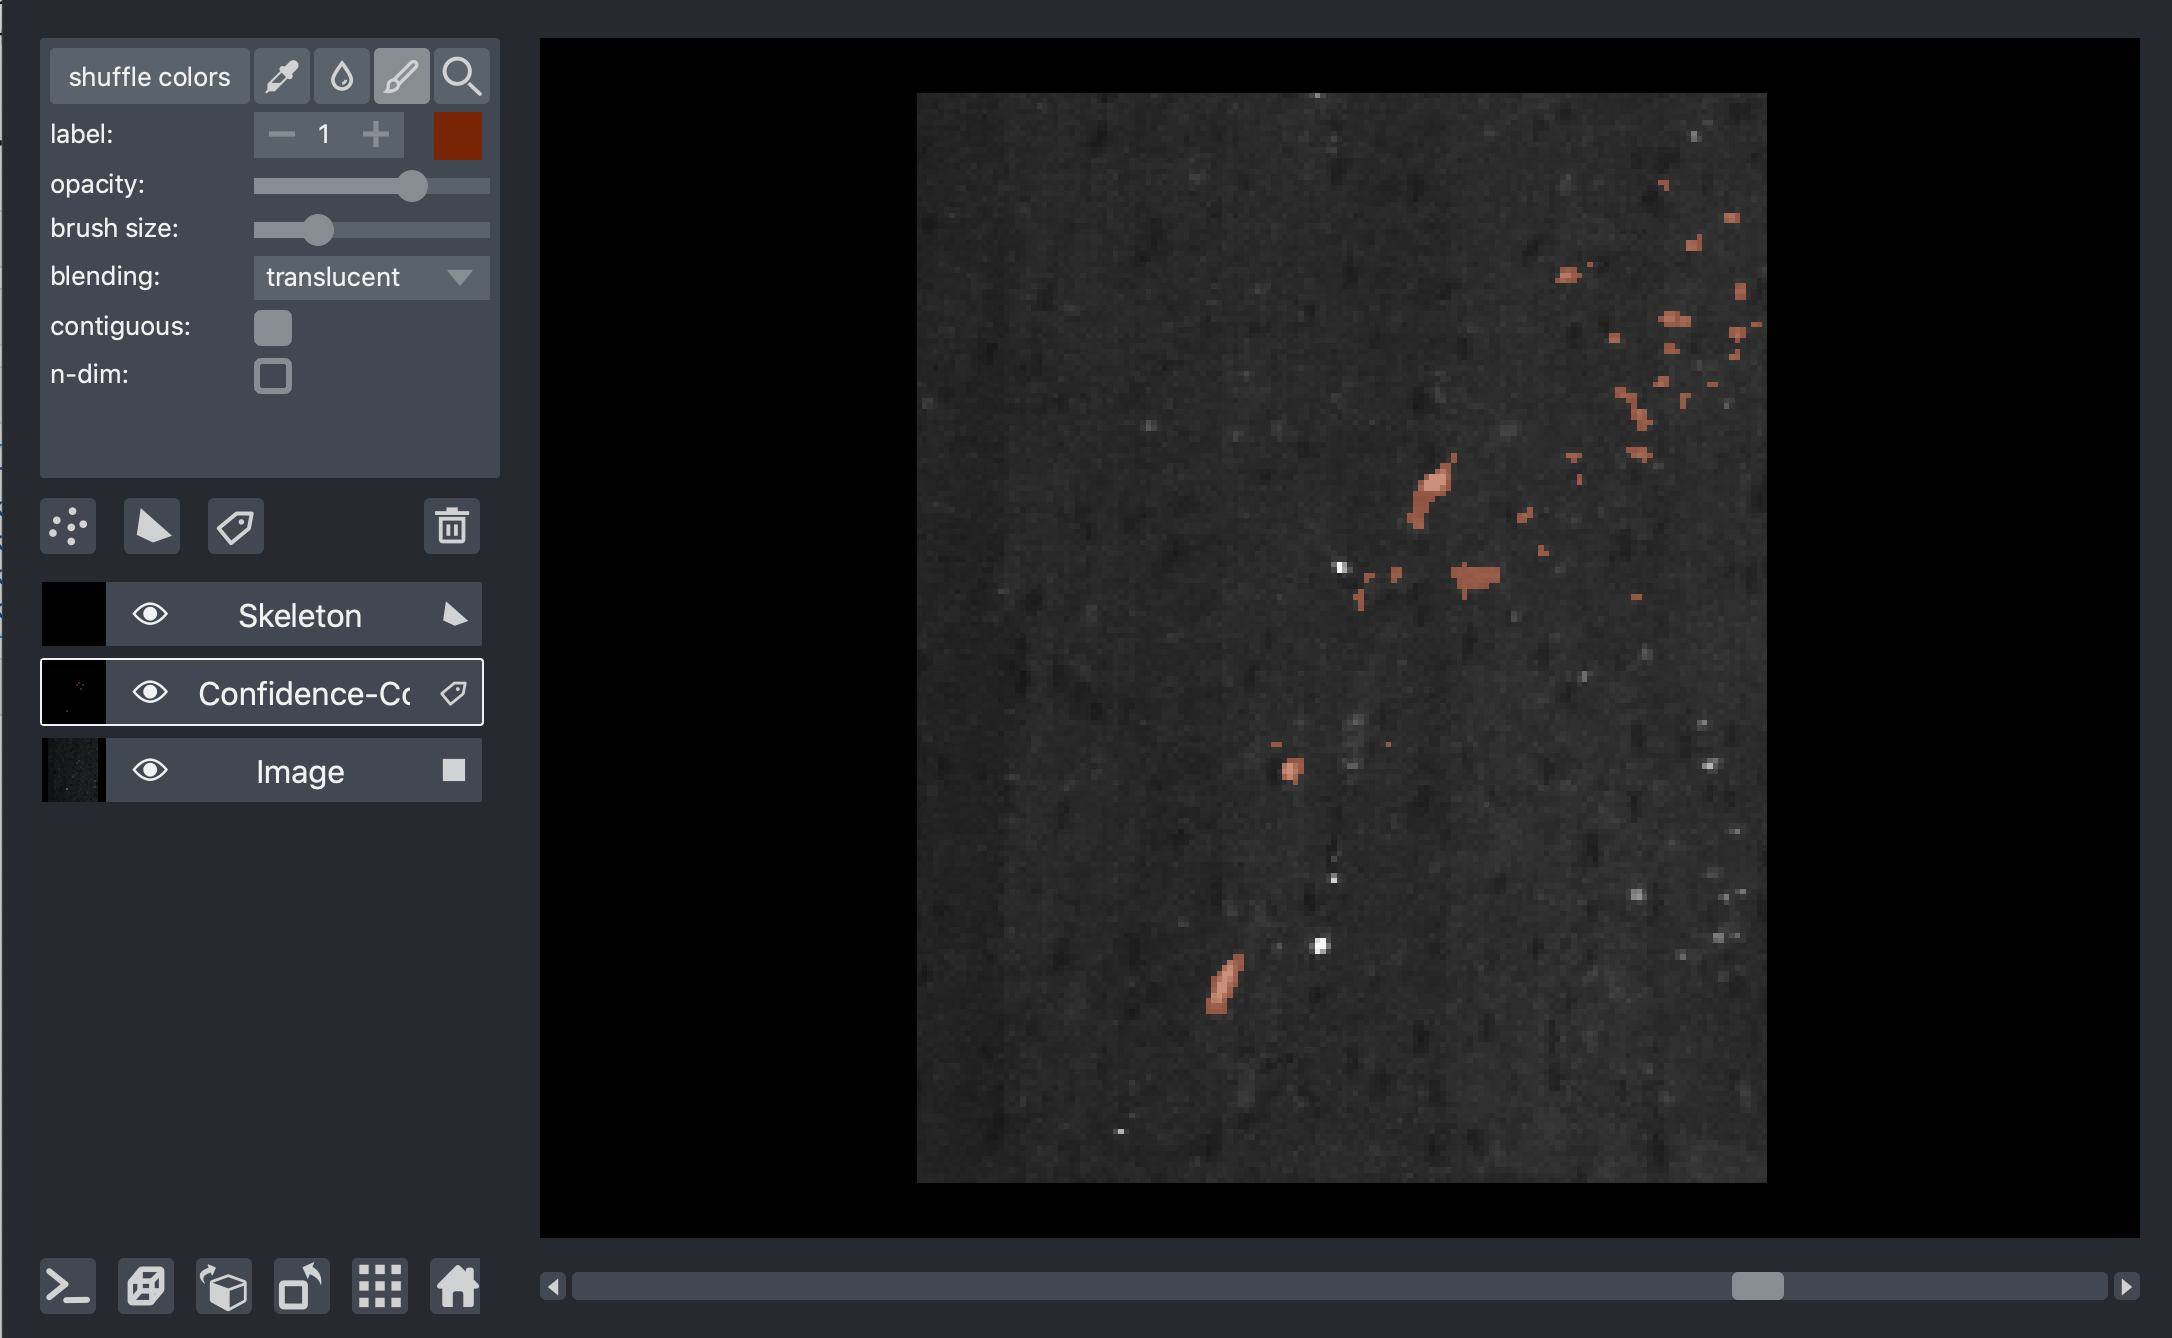
5. Click and drag on the image to adjust labels. Changes are saved automatically, and CMD-Z to undo is supported.
[ ]: